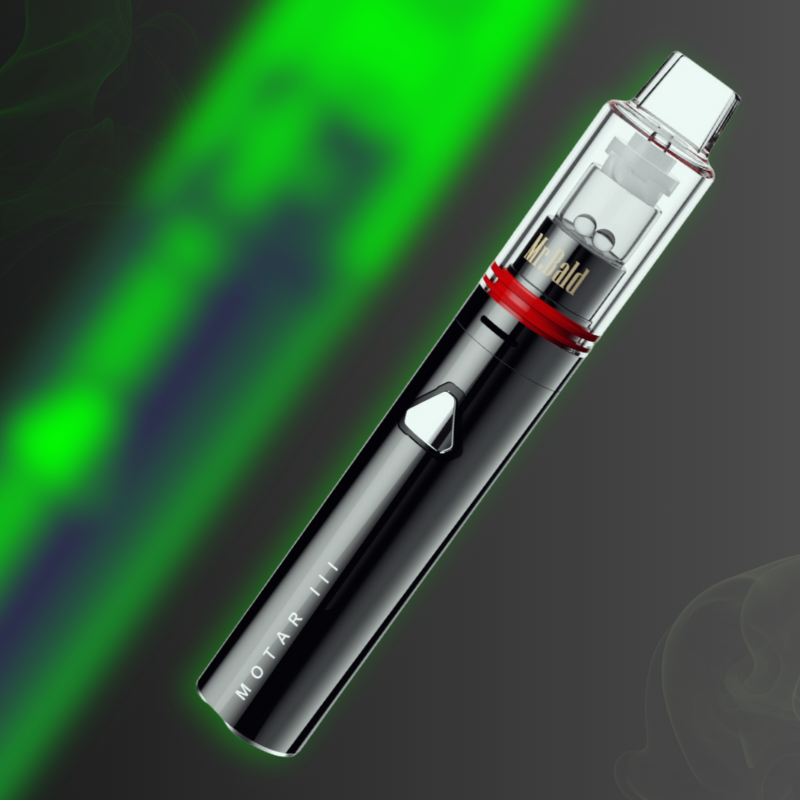

For concentrate enthusiasts who prioritize flavor purity, the Longmada Motar 1 and Motar 2 setups represent the pinnacle of coilless quartz vaporization. By utilizing a pure quartz chamber, these devices ensure your wax or distillates never come into contact with exposed metal coils, delivering an incredibly clean dabbing experience.
However, operating high-powered sub-ohm vaporizers requires specific technical knowledge. Mistakes in assembly, thermal management, or storage can ruin your materials, damage your device, or even cause personal injury.
Whether you are a new user or a seasonal vaper looking to optimize your sessions, this professional engineering guide covers everything from unboxing safety protocols and electrical assembly to advanced heat handling and proper battery preservation.
1. Unboxing Protocol: Inspecting Premium Quartz Components
Both the Motar 1 and Motar 2 feature heavy-duty, medical-grade Pyrex glass and quartz buckets to preserve terpene profiles. While we package every order with extreme care, heavy-handed local shipping couriers can occasionally cause internal structural stress.
-
🚨 Critical First Step: Before attempting to assemble or turn on your device, thoroughly inspect the glass mouthpiece, the quartz bucket, and the structural joints for any microscopic cracks, chips, or fractures.
-
The Action Plan: If you detect any shipping damage, do not attempt to use the device. Vaping through fractured glass can cause catastrophic thermal breakage when heated. Take clear, high-resolution photographs of the damaged area immediately, exercise extreme caution to avoid getting cut, and reach out to our customer support team for an immediate factory-backed replacement.
2. Electrical Physics: Proper Assembly Sequences
To protect the advanced micro-chips inside your high-drain vape battery and avoid a sudden dab pen short circuit, you must follow a strict physical component installation order.
⚙️ First-Time Out-of-the-Box Setup:
-
Thread the Core First: Screw your replacement quartz heating core firmly and flush into the metallic atomizer base.
-
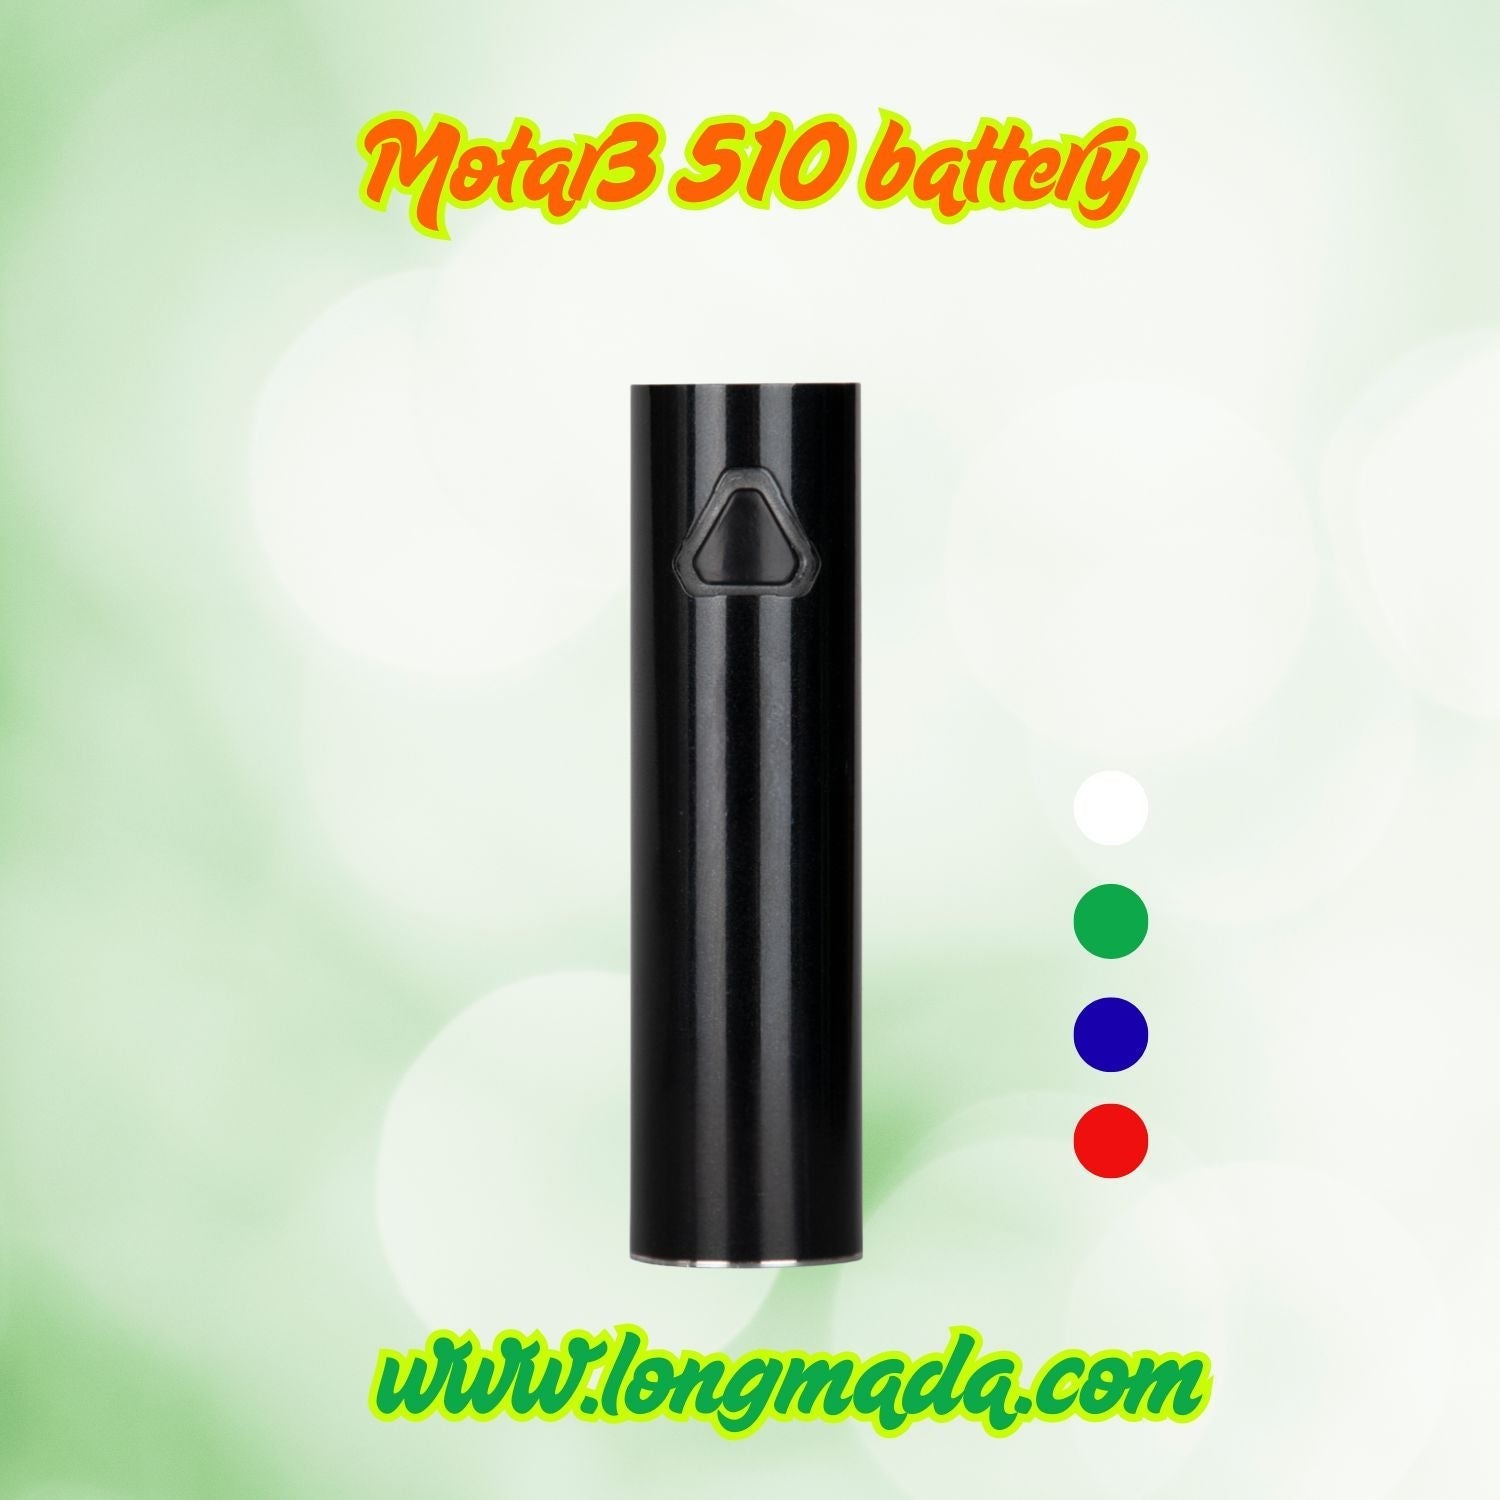
Connect to the Battery: Once the core is securely seated, screw the entire assembled atomizer unit onto your 510-threaded battery stem.
-
Why this matters: Attempting to screw an empty atomizer base onto a battery first and forcing the heating element in last can easily bend or misalign the spring-loaded firing pins, creating an instant electrical short.
🔄 Reassembly Protocol After Regular Daily Use:
Over time, sticky concentrate residue, pocket lint, or minute metal fragments can accumulate in your connections.
-
Examine All Contact Points: Before putting your pieces back together, visually inspect the 510-threads on the battery, the atomizer base, and the underside of the core for any foreign debris.
-
Clear Foreign Materials: Wipe down the joints with a dry cloth or a cotton swab lightly dipped in Isopropyl Alcohol to ensure pristine metallic contact.
-
Execute the Core-First Sequence: Follow the original setup order—screw the core into the base first, then connect the base to the battery pole.
3. Operation Blueprint: Optimizing Melt Efficiency & Avoiding Burns
Operating your Motar device correctly prevents oil waste and ensures maximum component longevity.
Step-by-Step Vaping Instructions:
-
Power On: Click the power button rapidly 5 times to boot up the system.
-
Load Material: Carefully drop a small piece of concentrate into the bottom of the quartz bucket and replace the glass top.
-
Initiate Pre-Heat Mode: Click the power button rapidly 2 times to activate the 20-second automatic pre-heat cycle. This sends a low, steady current through the quartz to liquefy your wax safely.
-
Manual Draw Session: Press and hold down the button for manual pulsing.
-
💡 Pro-Tip (EEAT: Experience): Always wait until your material has melted completely into a smooth liquid state before taking your first draw. Inhaling before the wax liquefies limits cloud production and unevenly cools the bucket.
🚨 Crucial High-Temperature Safety Warnings:
-
Thermal Accumulation Risk: Because the coilless quartz chamber operates at incredibly high thermal thresholds, continuous firing causes heat to accumulate across the device. The battery chamber and glass top will get progressively hotter. Mind your hands and lips to prevent accidental contact burns.
-
Post-Session Cooling: Never touch the internal heating pot or the immediate metallic atomizer shroud immediately after finishing a session. Allow the device at least 3 to 5 minutes to cool down completely.
-
Protect the Alignment: Never use metal dabbing tools, pocket knives, or sharp hard objects to scrape or poke the inside of the heating pot. Pressing down with rigid tools can shift the element out of its factory-calibrated alignment, tearing the micro-wires underneath and destroying the coil entirely.
4. Maintenance and Storage Protocols
🧼 Smart Cleaning Window:
To keep your flavor pristine, wipe the inside of your quartz bucket with a cotton swab after every few sessions. However, only do this after the heating pot has completely cooled down to room temperature. Applying liquids or friction to a scorching hot quartz element can cause sudden structural fatigue.
📦 Safe Storage Conditions:
-
Component Separation: When traveling, storing the device overnight, or charging the battery, always detach the atomizer assembly entirely from the battery pole. This simple step guarantees that if the button is accidentally pressed inside a backpack or pocket, the device cannot misfire and cause a thermal hazard.
-
Long-Term Battery Preservation: Lithium-ion cells degrade rapidly if left fully drained for long periods. If you plan to store your Motar battery away for weeks or months at a time, ensure you charge it to 100% capacity first. This preserves the chemical integrity of the cell and prevents premature battery aging.
Conclusion: Get Direct Manufacturer Support
By respecting the electrical physics of assembly, cleaning only when cool, and separating your components during transit, your Longmada Motar setup will deliver smooth, rich vapor for years to come.
If you encounter payment processing blocks at checkout on our Shopify store, local customs tracking delays, or need help choosing authentic replacement parts, we are here for you. Contact our global customer desk directly via Email or WhatsApp, and our technical team will handle your inquiry immediately!
-
[Browse High-Drain Smart Vape Batteries & Travel Accoutrements]
-
The Longmada Team Email: sales08@longmada.com WhatsApp:
-
Lily: +86 188 2507 2667
-
Lucy: +86 139 2377 5716
-